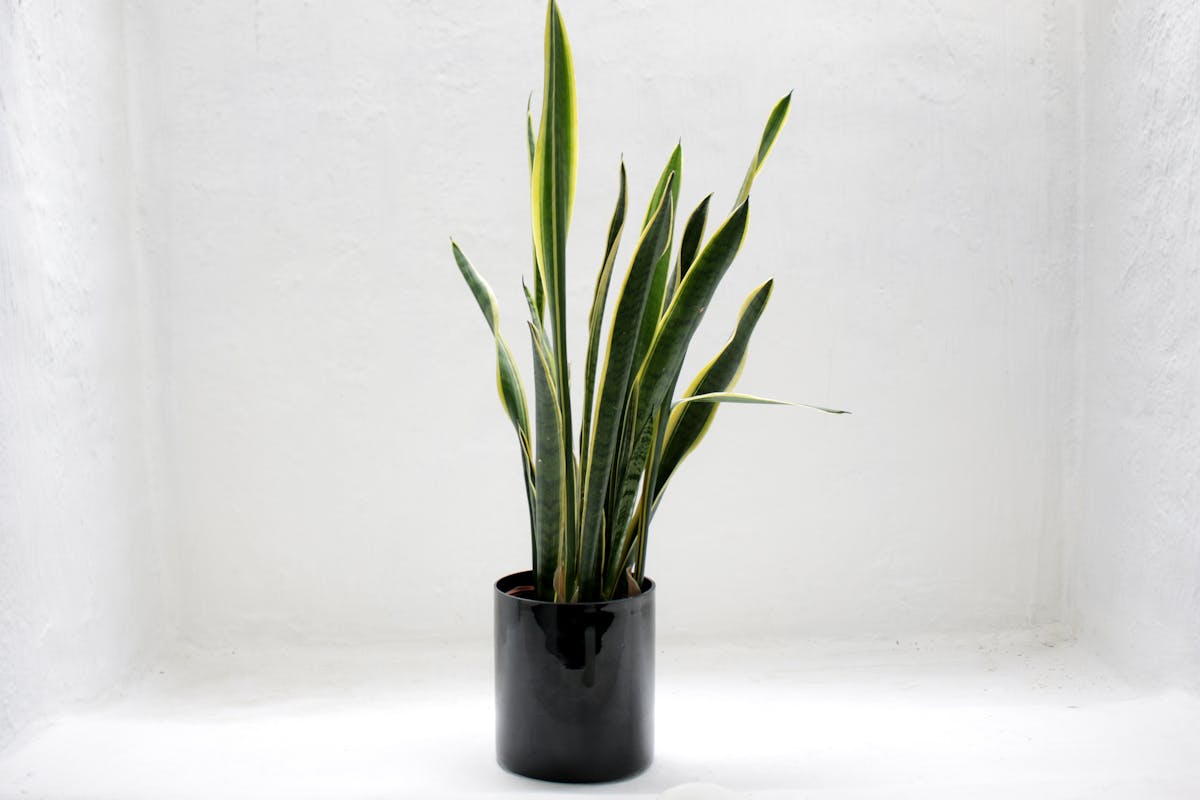
Leaf Cutting Propagation in Sansevieria
Your cutting is not dead. It just looks that way. Root development in sansevieria leaf cuttings takes 4–8 weeks and happens entirely underground — there is nothing to see from the outside until it is finished. That invisible period is when most people give up on a cutting that was working perfectly.
This guide covers the full process: how to choose and cut the leaf, how to mark orientation correctly, the callusing step that prevents rot, soil versus water methods, and what to expect at every stage. Including the part after the pup appears — which most guides stop before explaining.
TL;DR: Cut a healthy mature leaf into 5–10 cm sections. Mark the bottom of each section with a diagonal cut. Allow cut ends to callus for 24–48 hours. Plant bottom-end-down in dry cactus mix, 2–3 cm deep. Roots develop in 4–8 weeks. A visible pup appears 2–4 months after that. Do not discard before week 8.
Before You Cut: Choosing the Right Leaf
Not every leaf on the plant is equally suitable for propagation. These are the criteria that matter:
Maturity. Choose a leaf that is fully developed — firm, upright, with full adult colouring. Young leaves near the centre of the plant are still drawing energy from the parent. Outer, established leaves have the cellular reserves needed to generate roots. Leaves that are at least 2–3 years old show higher success rates than younger ones.
Condition. No soft spots, no brown rot at the base, no mechanical damage except at the tip. A small brown tip is cosmetic and does not affect propagation. Soft tissue at the base indicates the leaf has already begun to rot and will continue to do so after cutting.
Size. Longer leaves give you more sections per cutting. A 60 cm leaf yields 8–10 viable sections. Short leaves produce fewer but still work — minimum section length is about 5 cm.
To remove the leaf, cut it cleanly at the base using a sharp, sterilised blade. Cut all the way through — do not tear or twist. Pulling rather than cutting damages the rhizome tissue below the leaf attachment point.
How to Cut the Leaf (and the Step You Cannot Skip)
Lay the leaf flat on a clean surface. Cut it into sections 5–10 cm (2–4 inches) long using a single clean downward cut each time.
Mark the orientation of every section before you separate them. This is the step most guides mention but fail to stress enough.
Plant tissue has polarity — a directional programming that cannot be reversed. The basal end of each section (the end that was closest to the soil) is the only end capable of generating roots. The apical end (the tip end) cannot root regardless of how long you wait or what conditions you provide.
Once you have separated multiple sections of similar appearance, it can be nearly impossible to identify which end was which. Make a small diagonal cut across the bottom of each section immediately — before you move any piece. A horizontal top, diagonal bottom. This simple mark takes five seconds and eliminates the most common cause of complete propagation failure.
The Iowa State University Extension guide on leaf section cuttings documents the same requirement — plants form new roots and shoots specifically at the base of the cutting: yardandgarden.extension.iastate.edu.
The Callusing Step
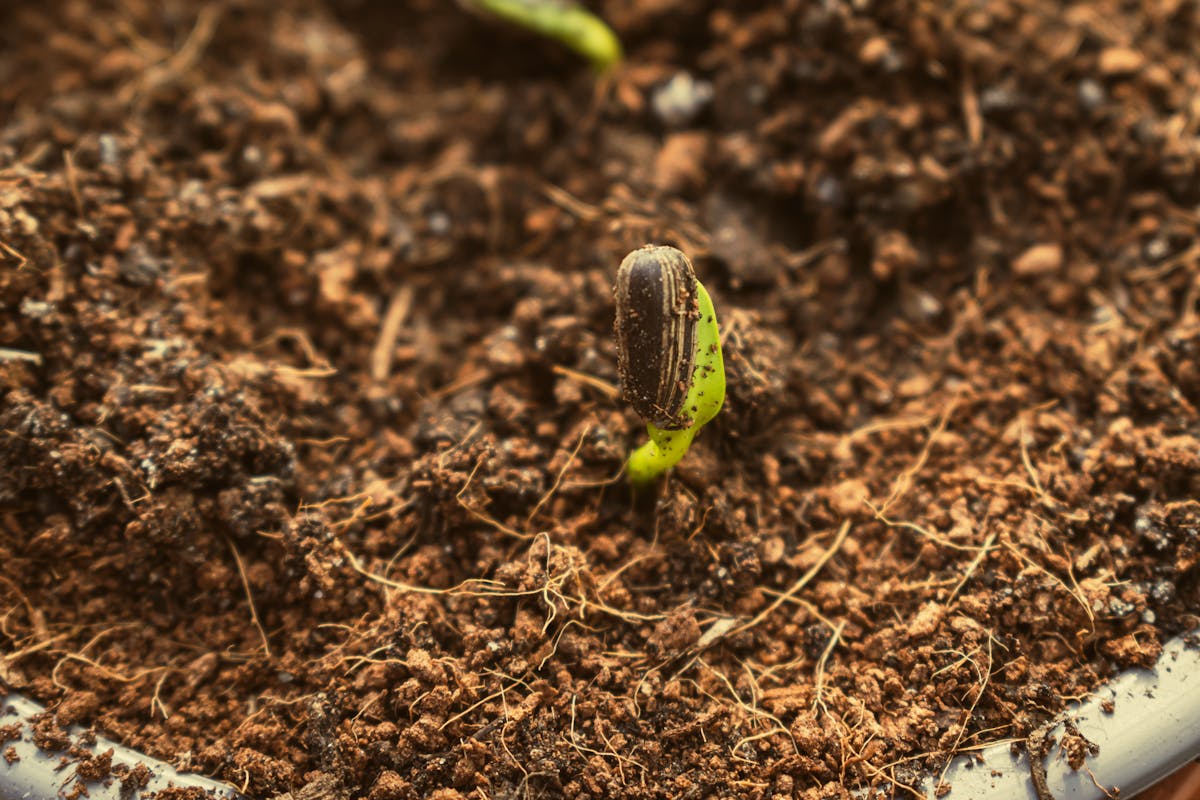
Before any section goes into soil or water, the cut surfaces need to dry.
Leave the sections in a dry location with good airflow for 24–48 hours. The cut ends will form a dry, slightly papery callus. This callus is a physical barrier against soil bacteria and fungi that would otherwise enter the cut tissue and cause rot before roots can form.
This step is not optional for sansevieria. Unlike some plants that can be placed directly into moist medium, sansevieria cuttings are highly susceptible to rot if planted immediately. A few readers have reported skipping callusing to save time — in most cases the cutting blackened from the base within two weeks without producing a single root.
Method A: Soil Propagation
Soil propagation produces roots that are adapted for soil from the start. It requires no transplanting later and closely mirrors the natural rooting environment.
What you need:
- Cactus or succulent mix, or a 1:1 blend of standard potting soil and perlite. Regular potting mix holds too much moisture and increases rot risk during the weeks before roots form.
- A clean pot with drainage holes. Small propagation pots or cells work better than large pots — excess soil volume holds moisture the rootless cutting cannot use.
Steps:
- Fill the pot with dry mix — not pre-moistened.
- Insert each section bottom-end-down, 2–3 cm deep (about an inch). The section should be stable but not buried — too deep invites rot at the insertion point, too shallow and the section falls over.
- Space sections so they are not touching. Air circulation between them matters.
- Do not water for 4–5 days after planting. The cut surface needs this additional drying period inside the soil before moisture is introduced.
- After the initial dry period, water lightly — moisten the top 2–3 cm only. Let it dry completely before watering again.
- Place in bright indirect light at 65–80°F (18–27°C). Warmth accelerates rooting. A cold windowsill will slow root development significantly.
What to expect: Nothing visible for 4–8 weeks. The section will look exactly as it did on day one. Tug very gently after week 6 — if it resists, roots have formed. If it pulls out cleanly, give it more time.
Method B: Water Propagation
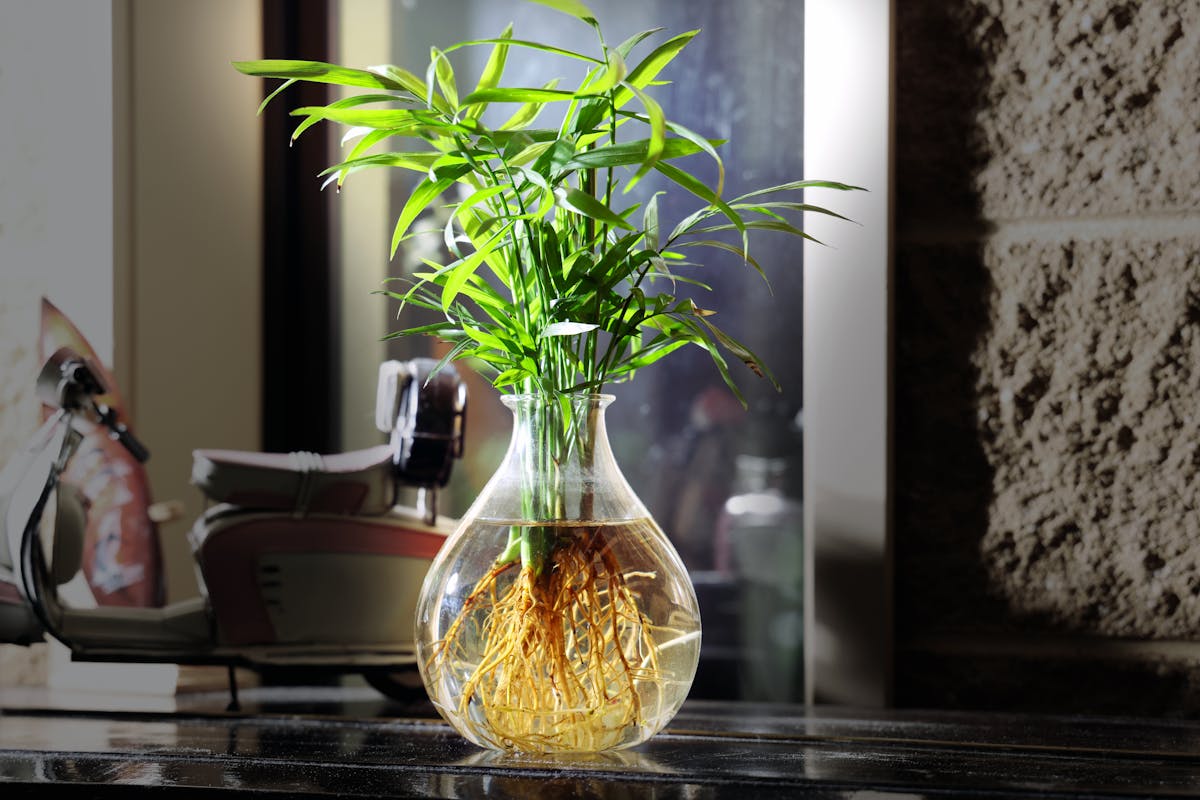
Water propagation offers one significant advantage over soil: you can see the roots develop. For first-time propagators who want confirmation that something is actually happening, that visibility is worth something.
Steps:
- After the 24–48 hour callusing period, place sections bottom-end-down in a clean glass or jar.
- Fill with room-temperature water to cover the lowest 2–3 cm only. Do not submerge more — the upper portion needs air.
- Place in bright indirect light. Change the water every 5–7 days to prevent bacterial growth and keep oxygen levels up. Cloudy water is a sign bacteria are active — change it immediately when this happens.
- Roots typically appear in 3–6 weeks.
- Transfer to soil once roots are 2–3 cm long. Do not wait until they are long and heavily developed — short water roots adapt to soil more readily.
Why transfer matters: Roots that develop in water form a different structure than soil roots — fewer root hairs, less branching, lower resistance to the denser soil medium. A cutting kept permanently in water will stay alive but will not grow as a plant. The water roots need to be retrained by soil contact. Once transferred, expect 2–3 weeks of adjustment before the cutting begins active growth.
What Is Actually Happening Underground
Understanding what the cutting is doing during the invisible weeks makes the wait easier to manage.
At the basal end of each section, meristematic cells — undifferentiated cells capable of generating new tissue — begin to respond to the wound signal and the presence of auxin, the plant's primary rooting hormone. Over 4–8 weeks, these cells differentiate into root primordia: clusters of cells that push outward and downward, eventually breaking through the cut surface as white, thread-like adventitious roots.
(Adventitious roots are roots that form from non-root tissue — in this case, from the base of a leaf section. The same type of root formation occurs when woody stems are rooted from cuttings in other plants.)
Once a root system is established, the cutting begins to move water and nutrients. At that point, a second group of meristematic cells near the base of the section starts generating a new shoot — the pup. This shoot is genetically identical to the parent plant and grows from the base of the original section, usually emerging from the soil 2–4 months after the roots formed.
This timing is why patience is not optional — it is structural. The pup cannot form before the roots do. The roots cannot form in less than 4 weeks under optimal conditions. The full biology of meristematic tissue and how the rhizome supports new growth is covered in the Sansevieria Morphology guide.
Rooting Hormone: Honest Assessment
Most guides recommend rooting hormone for sansevieria leaf cuttings. The honest answer is that it is optional and makes a modest difference at best.
Sansevieria initiates roots reliably from its own basal meristematic tissue. The auxin naturally present in the cut tissue is usually sufficient to trigger root formation without supplementation. Studies on auxin-treated versus control cuttings in other succulents consistently show faster rooting with hormone — but the effect is measured in days or a week, not in preventing failure entirely.
The practical recommendation: if you have rooting hormone available, apply it. Dip the bottom 1–2 cm of the callused section into powdered hormone, tap off the excess, and plant immediately. If you do not have it, proceed without — your results will be slightly slower, not meaningfully worse.
What rooting hormone cannot fix: reversed orientation, rot from excess moisture, or cold conditions. Those are the actual failure modes.
What Happens After the Pup Appears
This is the stage most propagation guides stop before explaining — and it is where readers panic unnecessarily.
Once the pup emerges and begins to grow, the original leaf section starts to decline. It may yellow, wrinkle, and eventually shrink down to almost nothing. This is normal. The leaf section has transferred its cellular energy reserves to the new pup's root system and is no longer needed as a photosynthetic organ. It is completing its function, not failing.
Do not remove the original section immediately. While the pup is small — under 3–4 cm — the original section may still be providing some support. Wait until the pup has its own established leaves and the cutting has naturally shrivelled most of the way. At that point, remove what remains cleanly. The pup is now independent.
Wait until the pup is at least 3–4 cm tall with its own visible root structure before separating it from the original section and potting it up independently. This is consistent with the RHS guidance on snake plant propagation: rhs.org.uk/plants/sansevieria/growing-guide.
Troubleshooting: Why Leaf Cuttings Fail
The cutting is rotting from the base. Cut ends were not callused, or the soil is staying too moist. Remove the rotted section, allow the healthy tissue to dry for 48 hours, and restart in completely dry cactus mix. Do not water for a full week after replanting.
Nothing has happened after 6 weeks. Check orientation first — tug the cutting gently. If it pulls straight out, it has not rooted. If it was planted upside down, there is nothing to do but start again with a new section. If orientation was correct, try increasing temperature and light. Cold conditions (below 60°F/15°C) significantly slow rooting.
The cutting has rooted but no pup after 4 months. Normal. Root formation and pup emergence are sequential, not simultaneous. Confirm roots are present with the tug test, maintain warmth and bright light, and continue waiting. Pups at this stage may be forming below the soil surface before they are visible.
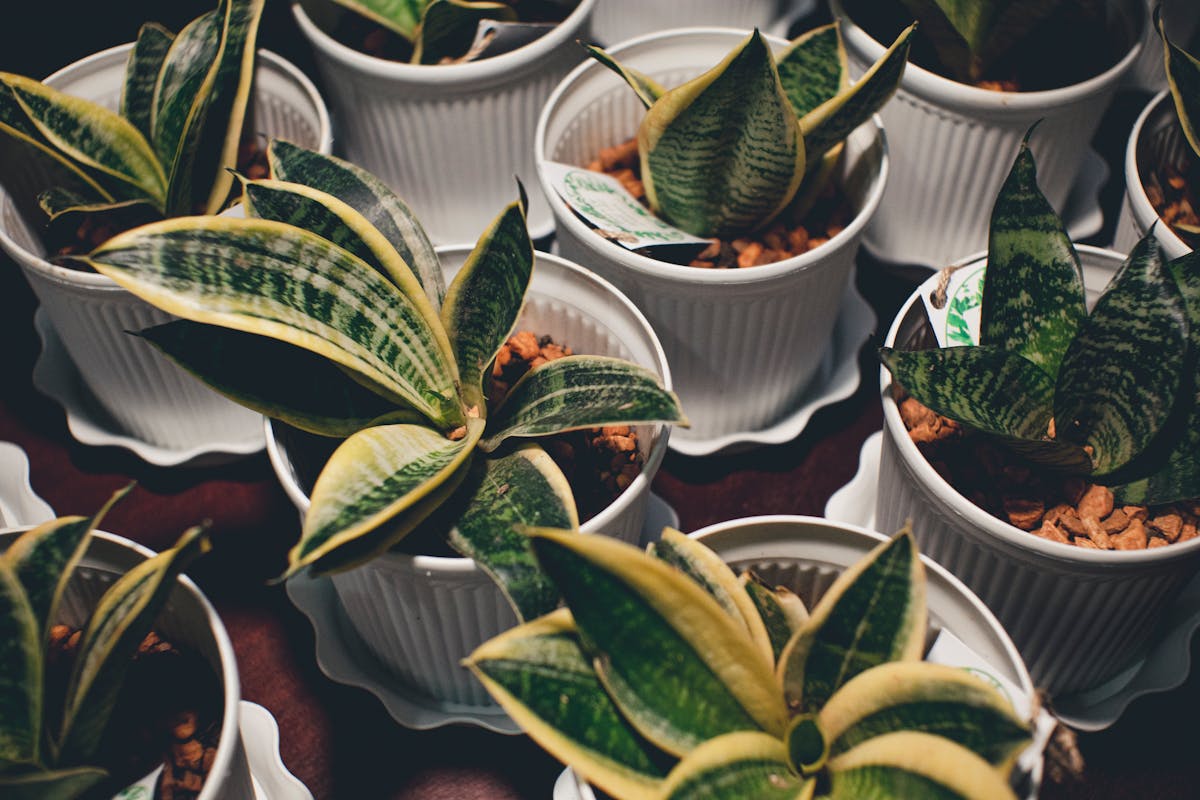
The leaves of the pup look plain green, not variegated. Expected biology if the parent plant was a chimeral variety like Laurentii. Leaf cuttings cannot transmit chimeral variegation. For variegated offspring, division is required. Full detail on the cultivar differences is in the Sansevieria Trifasciata guide and the Sansevieria Propagation guide.
If you have a healthy leaf you can spare right now: cut it, mark the bottoms, let them callus overnight, and get them into dry cactus mix tomorrow. Then leave them alone. Check for rooting at week 6 with a gentle tug. If they resist, the work is done — just a matter of time before the pup appears.
Care FAQ
How long does it take for sansevieria leaf cuttings to root?
Root development from leaf cuttings takes 4–8 weeks underground. A new pup visible above the soil surface takes an additional 2–4 months. The total timeline from cutting to a plantlet ready to pot independently is typically 3–6 months. Nothing visible happens during most of this period — do not discard the cutting before week 8 at the earliest.
Can you propagate sansevieria from a broken leaf?
Yes, provided the piece is at least 5 cm long and you can identify which end was closest to the plant base. Trim any ragged edges clean, allow 24–48 hours to callus, then plant the original bottom end down. A broken piece planted upside down will never root — orientation is the critical factor, not the state of the edges.
How do I know which end of a leaf cutting is the bottom?
The bottom is the end that was closest to the plant base — slightly wider and more rounded than the tip. When cutting multiple sections from the same leaf, mark the bottom of each section with a small diagonal cut immediately before separating them. Once sections are mixed, orientation is very difficult to determine by eye alone.
Do sansevieria leaf cuttings need rooting hormone?
No. Sansevieria initiates roots reliably from the basal meristematic tissue without hormone. Rooting hormone may shorten the timeline by 1–2 weeks but is not the difference between success and failure. Most propagation failures come from reversed orientation, rot from excess moisture, or impatience — not absent hormone.
Why is my sansevieria leaf cutting rotting instead of rooting?
Two causes: the cut end was not callused before planting, or the soil is staying too moist. Allow the cut surface to dry for 24–48 hours before planting. Once in soil, water only when the top 2 inches are completely dry. A cutting in perpetually damp soil will rot before it can form roots.
When should I separate the new pup from the original leaf cutting?
Wait until the pup is at least 3–4 cm tall with its own visible root system. The original leaf section will gradually yellow and shrink — this is normal, not a sign the propagation failed. You can leave the original cutting in place until it falls away naturally, or remove it cleanly once the pup is clearly independent.